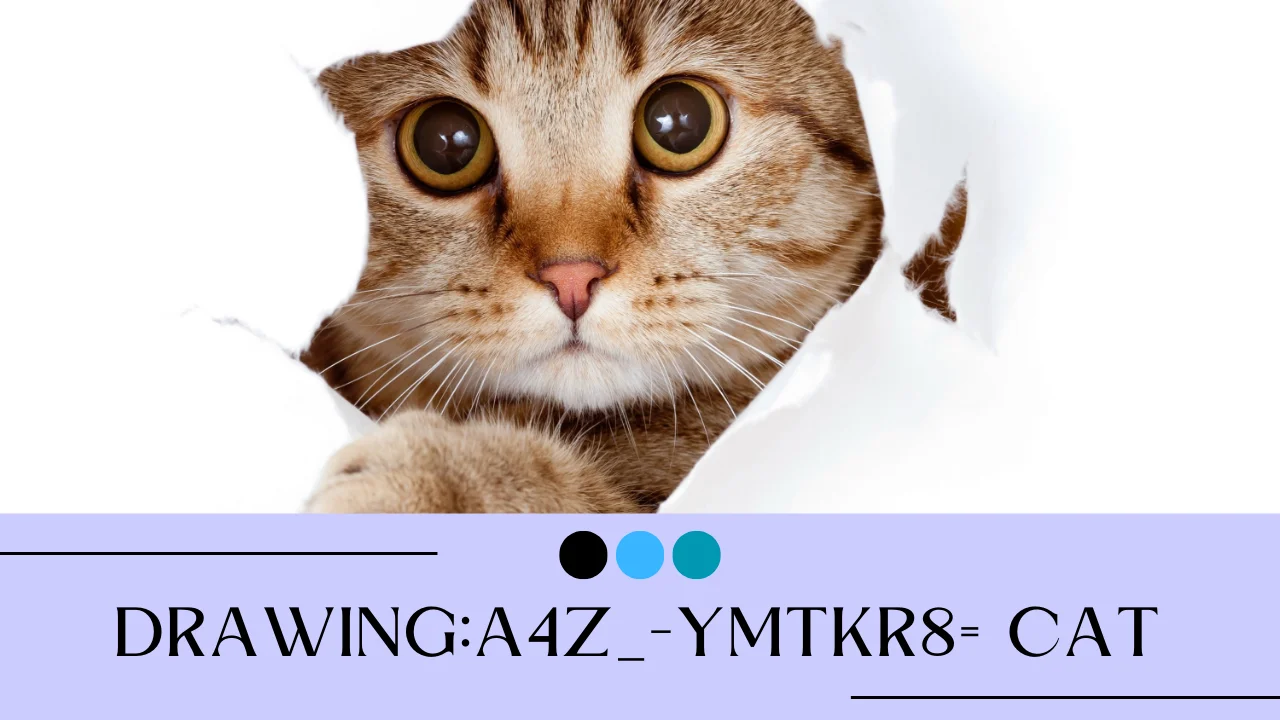
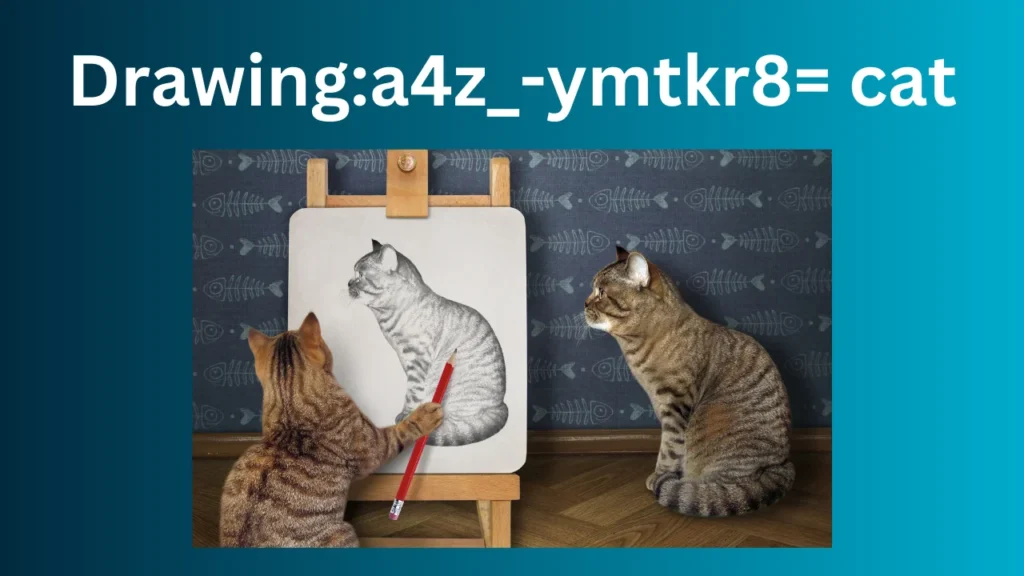
Cats have captivated humans for centuries with their playful nature and elegant demeanor. drawing:a4z_-ymtkr8= cat Whether you’re a cat lover or just looking to improve your drawing skills, learning how to draw cats can be a fun and rewarding experience. This article will provide you with a comprehensive, step-by-step guide on drawing cats, including tips for beginners and answers to common questions. By the end, you’ll be equipped with the skills to create your own cat illustrations!
Why Draw Cats?
Drawing cats offers numerous benefits:
- Creativity: It allows you to express yourself artistically while exploring different styles and techniques.
- Relaxation: Many people find drawing to be a calming activity that can help reduce stress.
- Skill Development: Practicing drawing can improve your overall artistic abilities, including observation, proportion, and shading.
Materials You Will Need
Before you start drawing, gather the following materials:
- Pencil: A good quality pencil (preferably HB or 2B) for sketching.
- Eraser: A soft eraser for correcting mistakes.
- Paper: Any drawing paper will do, but heavier paper can be more forgiving.
- Markers or Colored Pencils: Optional for adding color.
- Reference Images: Pictures of cats to help guide your drawing.
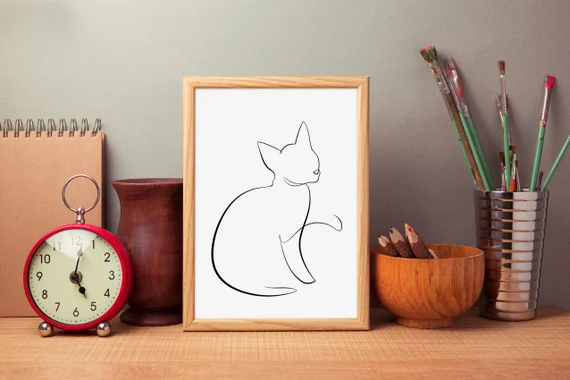
Step-by-Step Guide to Drawing Cats
Step 1: Basic Shapes
Start by drawing basic shapes to outline the cat’s body. Use simple forms to create the head, body, legs, and tail. Here’s a simple breakdown:
- Head: Draw a circle for the head.
- Body: Add an oval shape for the body, slightly tilted.
- Legs: Sketch rectangles for the legs—short for the front legs and longer for the back legs.
- Tail: Create a long, curved shape for the tail.
Step 2: Refining the Shapes
Once you have the basic shapes, begin refining them:
- Head: Add two triangle shapes on top of the circle for the ears. Draw a line down the middle of the head circle to help position the facial features.
- Eyes: Sketch two almond shapes for the eyes. You can add smaller circles inside for the pupils.
- Nose and Mouth: Draw a small triangle for the nose, and add a curved line below it for the mouth.
Step 3: Adding Details
Now it’s time to add details that will bring your cat to life:
- Fur: Add short, curved lines around the face and body to represent fur. You can vary the length of these lines to create texture.
- Whiskers: Draw long, straight lines extending from the nose for whiskers.
- Paws: Refine the legs by adding small ovals at the end for paws. You can include tiny claws for more detail.
Step 4: Finalizing the Drawing
Once you’re happy with the outline and details, it’s time to finalize your drawing:
- Inking: If you want a more polished look, go over your pencil lines with a black pen or marker. Allow it to dry before erasing any pencil lines.
- Coloring: Use colored pencils or markers to add color to your cat. Consider the cat’s breed to choose the right colors.
Step 5: Practice Different Poses
To improve your cat-drawing skills, practice drawing cats in different poses:
- Sitting: Draw a cat sitting with its tail wrapped around its body.
- Lying Down: Sketch a cat sprawled out or curled up.
- Playing: Illustrate a cat reaching for a toy or pouncing.
Tips for Drawing Cats
- Observe Real Cats: Spend time observing real cats or watch videos to understand their anatomy and movement.
- Practice Regularly: Consistent practice is key to improvement. Don’t be discouraged by initial attempts.
- Use References: Use reference images to guide your drawing, but don’t be afraid to add your own style.
- Experiment: Try different styles, such as cartoonish or realistic, to find what you enjoy most.
Common Mistakes to Avoid
- Overcomplicating: Beginners often try to add too much detail too soon. Start simple and build complexity over time.
- Ignoring Proportions: Pay attention to the proportions of the head, body, and legs to create a balanced drawing.
- Forgetting to Have Fun: Remember that drawing is about enjoyment. Don’t stress over perfection!
FAQs
1. What is the best way to start drawing cats?
Begin with simple shapes to outline the cat’s body and gradually add details. Use reference images to guide your proportions and features.
2. Do I need special materials to draw cats?
No, basic materials like a pencil, paper, and an eraser are sufficient. Optional materials include markers or colored pencils for coloring.
3. How can I improve my cat-drawing skills?
Practice regularly, observe real cats, and use reference images. Experimenting with different styles can also help enhance your skills.
4. Are there online resources for learning to draw cats?
Yes, many online platforms offer tutorials, videos, and communities where you can share your work and receive feedback.
5. Can I use digital tools to draw cats?
Absolutely! Digital drawing tools and software like Procreate or Adobe Illustrator offer a great platform for drawing and coloring.
Conclusion
Drawing cats can be an enjoyable and fulfilling creative outlet. drawing:a4z_-ymtkr8= cat By following these steps and practicing regularly, you’ll be well on your way to mastering the art of cat drawing. Remember to embrace your style and have fun with the process. Happy drawing!